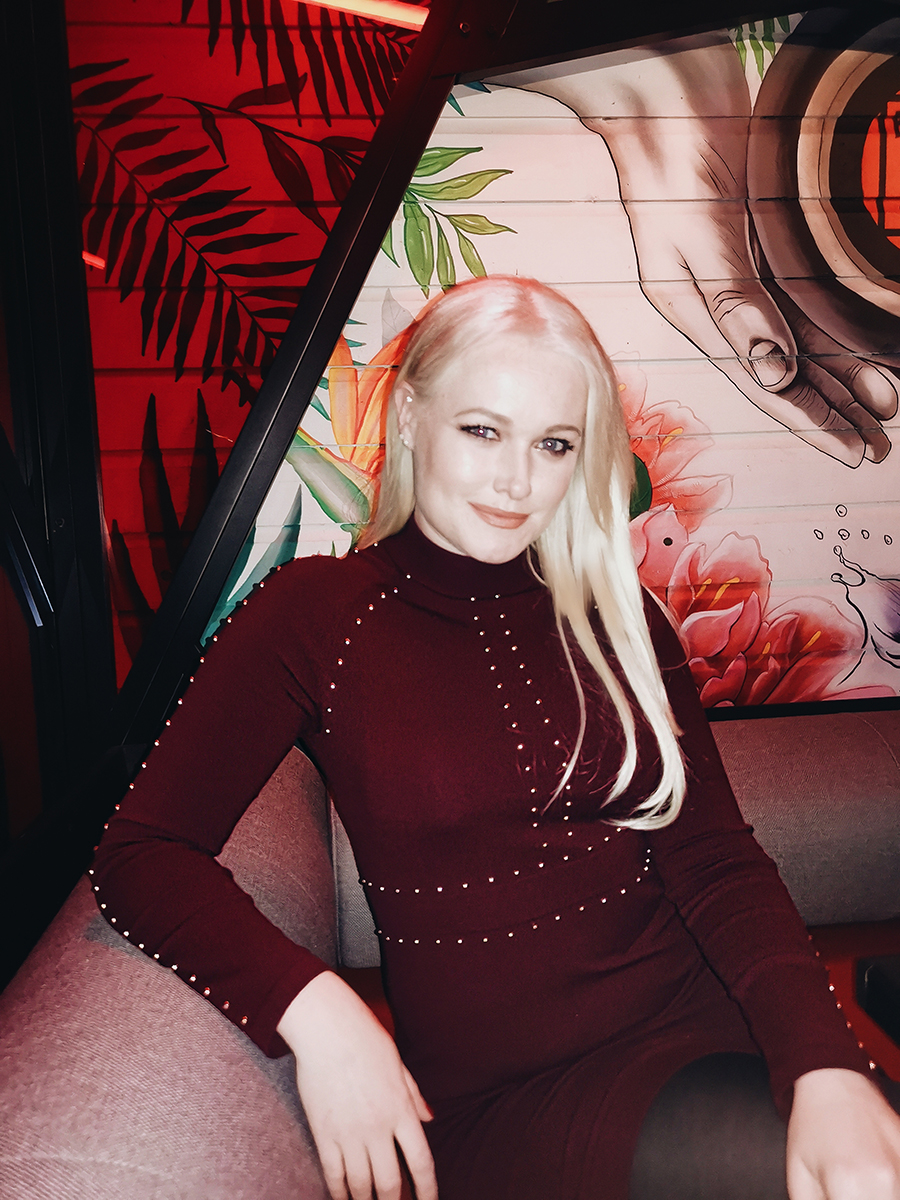
I firstly have to apologise for missing two BLOGMAS posts! I had to do an upgrade on the website and it ended up being a bit more complicated so I can now resume my normal schedule! This website stuff is sometimes too technical for this blogger (major thanks to Chloe Digital who manage all my tech for getting it sorted!) So, back to normal. Let me get you up to speed on the news. I got to spend last night with my gal pals for a mash up of a blogger Christmas dinner and a little celebration for our friend who got engaged a few months ago. It was just fabulous. I love getting glam, and spending time trying out new make up looks. So the theme of this post is to show you and share with you an easy makeup look for parties that I use all the time. Also to note, I was so kindly sent the new clip in hair extensions from Easilocks who have collaborated with Cheryl on the range. In the box you get two sets of hair – one smooth and one curly. There is so much hair to play with! For last night’s look I used the smooth clip ins as when my hair is straight I find it easier to blend in the various lengths. My hair is still short and I have yet to perfect the blending so stick with me on that as I figure it out! Anyway, the result is great and I love that it can completely change my look in a couple of steps.
Back to the make up! Here is how I did it!
FOUNDATION
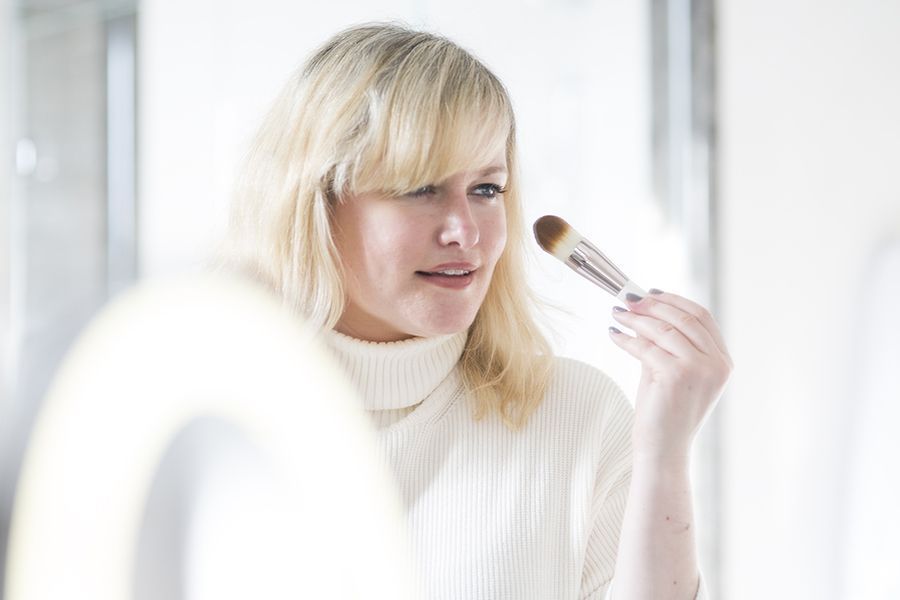
The key is all about the prep. I clean my face, and at the moment I am using Image Clear Cell facial wash, and moisturising with Clinique’s new ID moisturiser. That gets my skin in the best possible shape to keep make up on my face for an evening. Next for foundation I am currently using Nars Natural Radiant Long Wear foundation which is so good for evening as it does not budge. For any imperfections, I cover up with Benefit Boing Airbrush that has a light consistency that won’t clog up your pores. I apply these with the same brush which is a Sephora No. 56 that is a great all rounder for foundation and concealer. Under my eyes I add in Charlotte Tilbury’s Magic Away concealer in shade no. 2. That’s the base for now! All of this takes about five minutes.
EYES
There are a good few steps to this but it does not take long at all, so let me break it down.
- Take a medium fluffy brush (Tilbury’s Eye Blender brush is what I use) feather a skin tone shade all over your eye lid.
- Next, take a fluffy brush again, but this time it needs to be a bit narrower – I use a MAC 217 which has been around for a long time. Use a shade that is what I call a transition colour. For my blue eyes I love a brown based smokey eye, so I have been using two palettes for this look. The first is Huda Beauty Mauve Obsessions palette and the transition colour from this is the middle shade, a light-orange tone brown. I sweep this from side to side on my crease.
- The next palette I use is Urban Decay Naked Cherry Palette. I deepen the colour in the crease with the same brush using Devilish, a deeper more red based brown. This starts the intensity.
- I then needed to get some darker shades into the corners and lash line. A smaller brush is needed and I use a Blank Canvas E40 Flat Shader and taking either a deep purple or even black colour I pat in the dark shades to my outer corner. This can be blended in so there are no lines between the colours. I also add this colour to my lash line top and bottom and intensify with a soft eye liner pencil that can smudge.
- Almost there! On my lid I add in any sparkly or glittery light colour (I like pinks right now!) and swipe that across my lid. Then blend, blend, blend!
- To finish off, you need a lovely black mascara! IT Cosmetics, Lancome Hypnose and Smashbox make my favourites and are great for creating dramatic lashes. I also like to add lashes for nights out, and Kiss individual lashes applied with Duo glue are my go to.
- Don’t forget your brows! Mine are so light I have to really draw them in! Again, IT Cosmetics make my favourite one and I find it lasts so long.
CONTOUR
I’m not contouring a lot at the moment as I just love highlighter on my pale skin. Smashbox have an amazing contour and highlight kit as part of their Christmas gift sets and it’s a good match for me. Using a tapered brush, I apply a light tan colour under my cheek bones, on my temples and along my jaw. I use the same brush for highlighter that I sweep on my cheek bones, forehead, and just above my top lip. When it comes to blusher it’s up to you whether you want to use it. I always say yes! Nars Orgasm is a long time hero product of mine with it’s shimmery pink tone it’s universally brilliant.
LIPS
On this I have started with MAC Spice Lip Liner that I use to outline my lips and then “colour” in slightly at the corners. This kind of contours your lips. Then try a lighter shade in terms of colour. I love Bobbi Brown’s Luxe Liquid High Shine in Barely Nude. It’s super pigmented and it lasts all night!
FINISH IT ALL!
I love loose powder but for night’s out I need more setting power! MAC’s Mineralise Powder is one of the best I’ve used (I use Medium) and I apply it with a big fluffy brush to get it all over my face. Setting sprays really do work, and Urban Decay’s range I can highly recommend.
It might sound like a lot, but the above takes about 20 mins in total!